A cake always brings joy and in many celebrations it is one of the focal points of a birthday, christening, baby shower, graduation, or wedding etc. Having the opportunity to make one for a relative or a friend makes it even more special. To make the cake as professional as possible there are several steps to follow before decorating and adding it’s final touches. In previous posts you've been given a few techniques, today I’ll present a complete summary of helpful steps. Depending on the frosting and finish you want, the list may vary; I have only included what is essential and what has been more useful to me.
1. Start with a positive mind and remember that decorating a cake should be your hobby and something you are passionate about. It will not be like an industrial cake, decorated by a machine where it is perfectly smooth, straight and exact every time. The simple fact that it is done by a human makes it different and every little thing you think is a flaw, is what makes it special: HOME MADE!
Tip: imperfections give us the opportunity to invent decorations that we have never imagined we could do!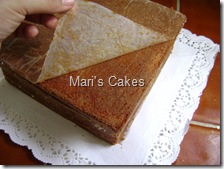
2. Bake the cake with the recipe of your choice and with the one you feel most comfortable doing.
Note: In this blog you will find the recipes of the Dominican Cake, Vanilla Sponge Cake and Chocolate Sponge Cake, among others.
 3. When cooled, if it’s necessary, level the cake using the leveling and torting method. Making sure cake is leveled and even on all sides.
Note: To learn how to on Cake Leveling and Torting.
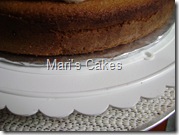
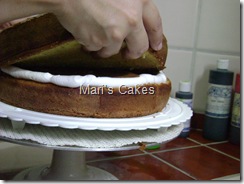
If you need to make a big cake and do not have a large pan, or that size of cake is to big for your oven you could bake the cake in the biggest pan you have, (if you normally bake in two pans, you’ll probably need two bake 3 or 4 cakes pieces to assemble the cake), after baked and cooled, set them together side by side and glue them with the filling and then the frosting as you decorate. The following photos show how I glue cakes together to make on big cake or a particular design.
First I cut off the edges where cakes will be united. On this occasion I used frosting.
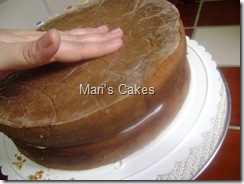
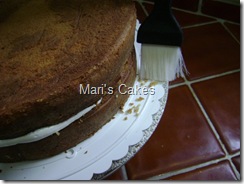
I then proceed to gather both cake by pressing them together, and finished it with a rim of frosting to prevent filling from overflowing out of the edges.
The cake is now ready to frost and decorate with the frosting of your choice. I do recommend you to leave it to set a few hours or overnight before frosting since this will help cake set, and it won't slide while you apply the frosting.
Finished product:
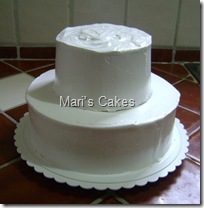 4. Plan how you will present the cake, if one, two or three tiers, or if they will be in separate plates. You can now prepare the boards, dishes and trays that you’ll use. I usually know in advance what I need to do, so I prepare this several days or the day before making cake. By doing this, you make the cake decorating day much easier. If you are going to use a cake plate it is recommended to use a cardboard plate underneath the cake , this prevents the plate from being scratch when cake is served and looks more hygienic and presentable. Glue the cake to the cardboard, and the cardboard to plate with a spoon of frosting.
Note: To learn how to prepare Cardboards dividers for Cakes at home.
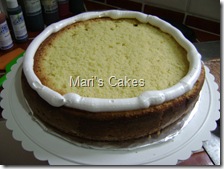 5. Fill the cake with the filling of your choice. It is important you pipe a dam of frosting on the outer edges of the cake to contain the filling and prevent it from coming out, this also makes it easier when frosting the cake, and keeps it looking cleaner.
Note: In this blog you will find recipes for: Pineapple Jam, Strawberry Jam, Tangerine Marmalade, Dulce de Leche and Buttercream in several flavors.
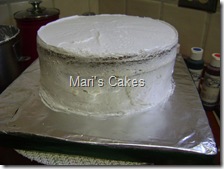 6. Crumb coat cake to seal the crumbs. A crumb coat is used as the basis for a smooth finish for your frosting. Having a smooth surface without any small crumbs makes your cake a much nicer and
easier place to work on. It helps to avoid having crumbs everywhere on the cake and damaging the clean and white appearance of the frosting. Note: Read post on Crumb Coating Technique with video.
Time to decorate- You can decorate a cake with a variety of frostings: whipped cream, buttercream, meringue, fondant, or sugar glaze.
 7. After you crumb coat, frost with a thin layer with the frosting of your choice, let set to crust and the cake is then ready to put fondant if that’s what you prefer to use.
 Note: I have read that, Dominican meringue frosting could be used under the fondant. Here is how to: cover the cake with (DMF) the night before or at least let it set for at least two hours (this is so that it forms a crust and the DMF should not be wet) before covering with fondant.
8. If fondant is not what is going to be used, frost the cake with the frosting or icing of your choice. For beginners it is easier to start
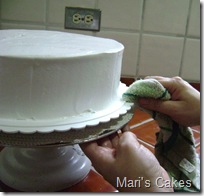 practicing with buttercream. Note: In this blog you will find recipes for: Dominican meringue frosting (DMF) and step by step video of how to cover a cake with it and several buttercreams recipes. Click Here for (DMF) with video on how to frost a cake or Buttercream.
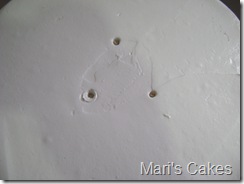
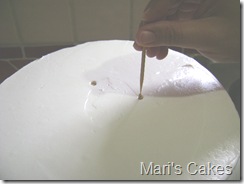
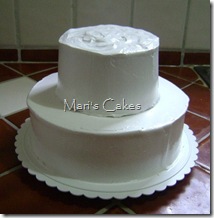
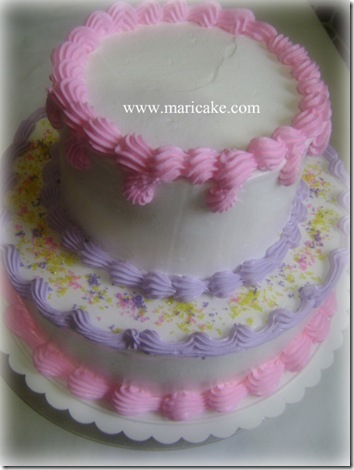
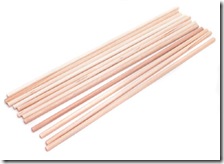 9. If it will be a multi-tiered cake, then dowels would be needed. You can use homemade PVC or wooden dowels, or buy ready made ones from Wilton. If the top cake is small and with not much weight you can use straws or kabobs sticks for support. The cake I show you today, was to stay at home (lucky me) and the top level cake was small, so I only used 3 dowels but normally four should be used. To mark where dowels need to go use the cake plate of the size of cake you are going to put on top or the baking pan you used to bake it in and place the dowels in even spaces inside the marked circle.
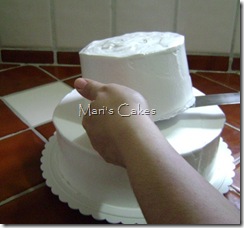
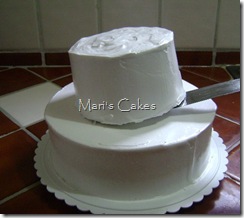
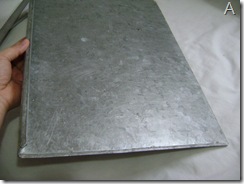
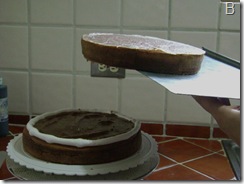
Below you will see how to build a tiered a cake, this time I used a angled spatula. The trick is to mark the center with the pans used to bake the cake (top one) as a guide, and carefully place it there. If you working with a bigger cake, then I advise you use a large spatula or a cake lifter as the one shown in the following photos labeled A and B, if you do not own one, than one or two cake boards could be used.
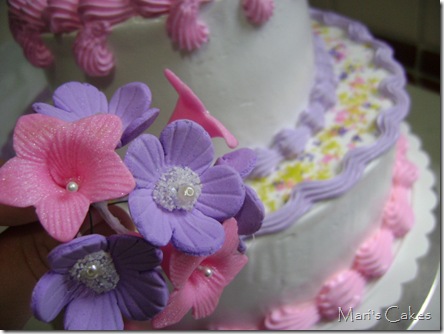
10. After mounting the cakes one on top of another you can decorated the edges with the border of your choice or put flowers and ribbons. Sometimes I decorated the edges with cookie crumbs, cookies or chocolate candy. You’re free to be creative.
Tip: It's is OK to be inspired by cakes photos or another cake artist, but always try to give your cakes your personal touch. Make yourself known for your individual cake style. This will decrease the stress you could encounter if you try to compare your cakes with so and so.
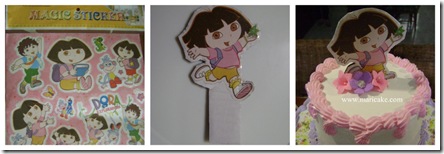
The decoration I used today is simple and easy to make at home. The birthday girl loves Dora, so I decided to put this cardboard/sticker decoration. I am often asked to use this type of decorations, so I always have stickers at hand. To do this: cut out the picture and stick it to a white cardboard. When cutting the cardboard leave a 3 inch extension at the end to insert into the cake. Ribbons, flowers, candy or small balloons could also be added. To do borders on the cake shown today I used tip # 22 of Wilton. The # 22 tip is one of my favorites and it’s very versatile.
11. Time to deliver the cake, take a deep breath and think about the next cake you’ll decorate and what you'll do differently or better, because with every cake we always learn something new.
I hope this entry will be beneficial to you Mr. or Mrs. Baker: ) When I began baking it was very difficult because I didn't find the right guidance at my finger tips, and only after researching, practicing and asking several decorators, I learned the proper techniques. Recalling those times when I started and my experience in browsing the Internet for step by step recipes, techniques and tips, I would be happy if my blog is of motivation and help for you to make that special cake.
Was this post helpful? What would you like to see next in Mari’s Cakes regarding cake decorating?
If you would like additional information please request it in the comments.
If cake baking and decorating, is what you like. Keep your faith and perseverance and do not let anyone or anything discourage you.











Keep in touch