


En español clic aquí.
A crumb coat is used as the base to get a smooth even surface for you to frost.
Having a smooth surface without any small crumbs makes your cake a much nicer and easier place to work on. It helps to avoid having crumbs everywhere on the cake and damaging the clean and white appearance of the frosting.
There are different methods recommended in what to use as a crumb coat. Some decorators use a thin layer of piping gel or apricot jelly to help secure the surface. If you choose to use the apricot preserves I suggest you warmed it slightly. You can also use this method to prepare a cake for fondant.
Another type of crumb coat is to use thinned frosting or buttercream. I always use Dominican Frosting / Italian meringue or Buttercream to crumb coat. The suspiro/meringue does not stick well to the cake if you use gel, jelly or preserves as a crumb coat, so don't use these if you are going to frost the cake with meringue. When using suspiro, frost as soon as you finish crumb coating. For all other frosting, you could wait a few minutes or following day for to frost. I leave you with the following pictures of how I crumb coat and I hope that it will be of much help to you.
Note: As you practice and acquire experience, this step could be omitted and only done when necessary. By placing a large amount of frosting, you can easily glide the spatula without touching the cake to prevent crumbs from sticking.
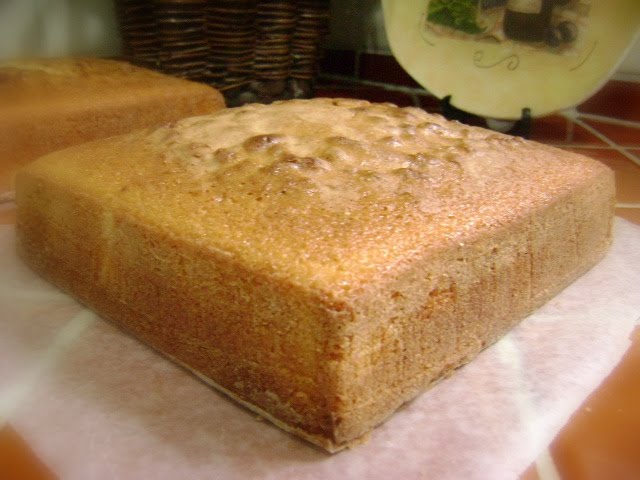
Steps: First use a pastry brush or fingers to brush off any loose crumbs on the cake. Then seal the surface of the cake with a thin layer of the crumb coating.
Steps: First use a pastry brush or fingers to brush off any loose crumbs on the cake. Then seal the surface of the cake with a thin layer of the crumb coating.

See No crumbs on Frosting!


I invite you to visit my blog, Delight and Wisdom.


Keep in touch