Showing posts with label Decorated Cookies. Show all posts

DECORATED COOKIES with PEARL DUST and ROYAL ICING ROSEBUDS


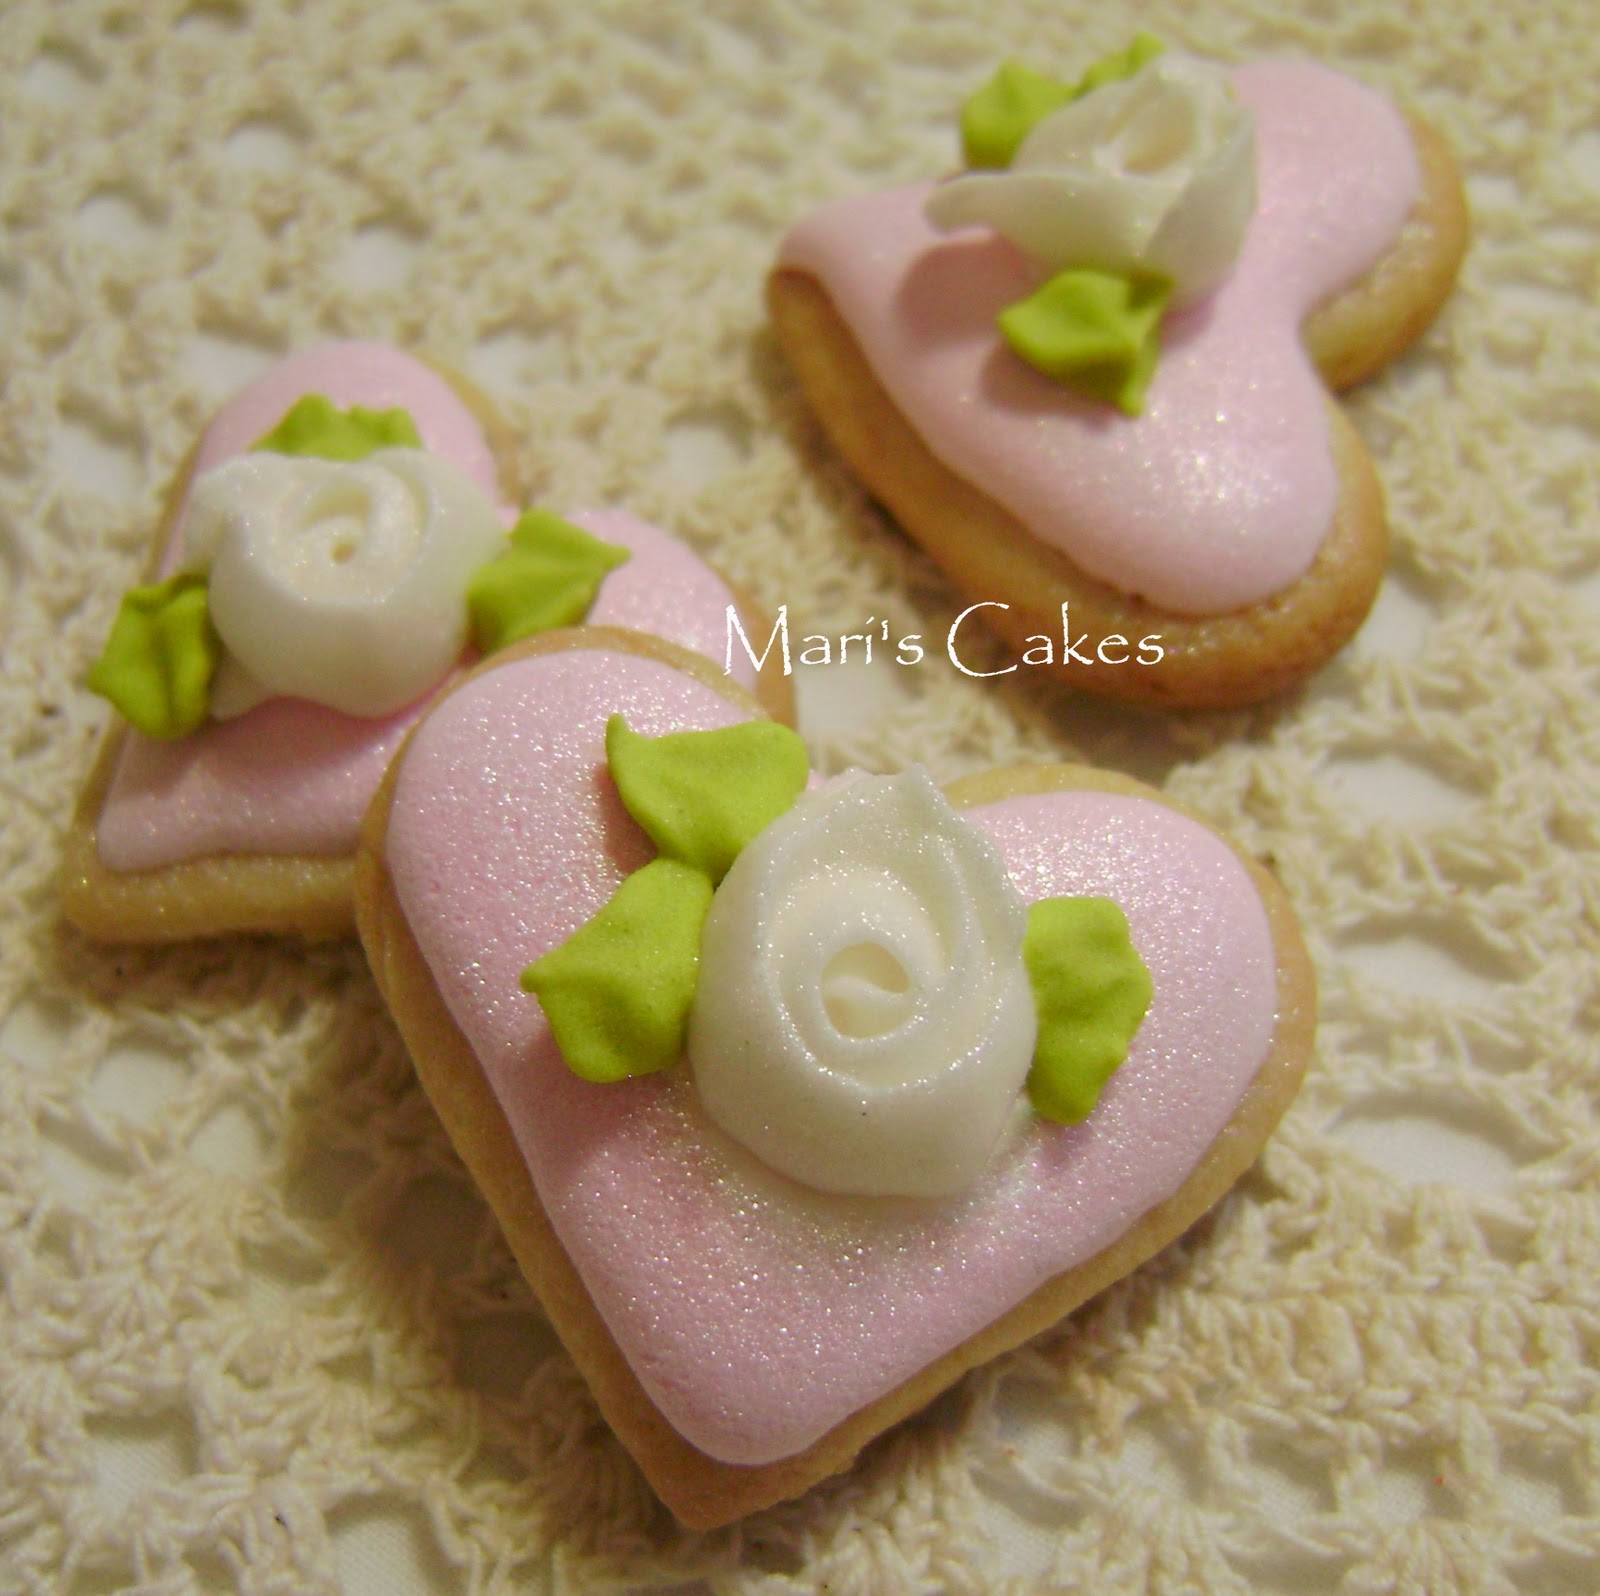
Each time I decorate cookies with icing I enjoy it more than the previous time. On this occasion I made some "rosebuds" with icing using a pastry bag and petal tip. I also used pearl dust it's very much like luster dust, I had a bottle of it lying around and I am glad I finally found another way to use it.

I love how these cookies came out and named them "Princess Tiana Cookies", after my beautiful niece. They were made as a gift for my daughters and several friends. I feel these cookies go well with my personality  because of the flowers and subtle sheen, therefore, I present this post with great joy.


The rosettes or rosebuds did not come out all the same, instead, I gave them each a there own style making them slightly different. As soon as I heal from my sore right arm, I will practice some more to achieve a rosebud that is more defined. I do however believe that how they look is not something to worry about because even the buds that came out looking kind of funny, as soon as you place some leaves and lust on  them they'll look fantastic. The good thing is that you can do lots of rosebuds in different colors, shapes and sizes. When dry they can be stored in plastic containers and use when you want it in cookies, cupcakes and cakes.


How to video for these little rose buttons:


What you'll need:

To make rosebuds:
Strong consistency icing: HERE (if only making a few, use only a quarter of the icing and leave the rest for the cookies)

Tip # 101 (rosebuds and petals)
Tip # 67 or # 352 (leaves)
Flower nail
1'' squares of wax paper  

For Cookies: 
Cookie recipe: HERE
Icing: HERE
Tip #2 (outline and flooding)
Dried icing rosebuds or flowers
Pearl dust
Two soft brushes, one small and one larger


Steps:
1. Make cookies and icing. Leaving some icing with a very strong consistency to make flowers. Let flowers to dry overnight. Decorate cookies desired color and allow to dry overnight. Reserve a bit of icing to glue the flowers the next day and also to do the leaves. With cookies and flowers all ready continue:


Note: You can use pearl dust to give a touch of sparkle and pearl glow to bows, flowers or any details made of fondant, gum paste and royal icing. It is easy to use, to apply, use a dry soft artist brush, using very little on the surface you want to add sheen. You can also wet a small amount of dust with a few drops of vodka or vanilla and use it as paint to color decorations. It is edible and is approved by the FDA. You can find this product in a specialized pastry shops or online. I saw it in  NY Cakes.


2. Powder  should be applied gently to the flowers with a dry soft brush, a small amount of dust, is more than enough.


3. I wanted some cookies to have sheen so I also did the same application procedure as in the flowers but with a larger brush. The brush should be soft to avoid damaging the finish of icing (either fondant or icing).


4.  The powder is ready at once, there is no need to wait a while before placing the flower or decoration.

5. Place a dot of icing and then glue the flower. Make the dot small enough or else it will spread outside the flower's border.


6.  Then go with the tip #67 and add leaves for garnish. Let dry and voila, our Princess Tiana Cookies are ready to please yourself or our loved ones.

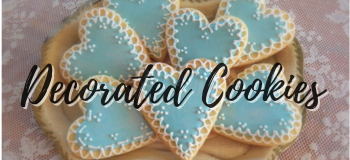
For me every day of the year is special for LOVE and FRIENDSHIP so although I published these heart shaped cookies after February 14, it is still valid. I love heart shape everything and with the 20 + heart shape cookie cutters I have, you'll see lots of hearts around this blog!

If you need an excuse... these cookies will be a great gift for, your cousin on her birthday, the neighbor's anniversary, Easter and for our Mothers ....... YES, I know you thought about these cookies for Mom. I pictured them in a beige or cream tone for mom, and maybe light blue for me : )  I Hope you liked the idea of the flowers and pearl dust for cookies, and have enjoyed this post as much as I did.


En español: AQUí


So whether you eat or drink or whatever you do, do it all for the glory of God. Do not cause anyone to stumble, whether Jews, Greeks or the church of God — Corinthians 10:31-32 


Thanks for following and have a blessed week,

Chocolate Chip Decorated Cookies for My Cookie

Do you like chocolate chips cookies? Do you love decorating cookies? Than this is a recipe for you!

Last December as I was rolling out gingerbread dough, my oldest daughter, nicknamed COOKIE, I'm pretty sure you'll guess why, said "if only it was rolled chocolate chip cookie dough." I said "that will be a great idea". With that in mind, I had to place it in my to do list and planned it for February.


If you already have a favorite sugar cookie recipe, you can add 1½ cup of mini-chips and follow the steps like usual. I made a few modifications to my sugar cookie recipe and here it is, a rolled chocolate chip cookie dough for you to bake and decorate at home. I made a few changes to my cookies dough and they are marked with an *.


Chocolate Mini-Chip Cookies

 
Ingredients:
1 cup of butter or margarine (8 oz = 205 g)
¼ cup granulated sugar *
½ cup brown sugar
1 egg yolk
1 ½ teaspoons of  vanilla extract
3 ½ cups of  flour
½ teaspoon of salt
1 ½ cup of semi -sweet mini-chocolate chips *


Instructions: 
1. Cream butter and sugar until pale yellow and creamy (about 3 minutes). Add vanilla and egg yolk, beat until mixed.

2.Sift flour and salt together, and  to the butter mixture one cup at a time until fully incorporated (you may not need all the flour). Fold in the mini-chocolate chips. Wrap dough in plastic wrap and refrigerate for at least 1 hour. 

3. After the hour, remove the dough from the refrigerator and divide into 4 equal portions. Roll each portion of dough to ⅛ - ¼ inch (¼ - ½ cm) thick between 2 sheets of plastic wrap or parchment paper. Place back into the fridge for at least two hours.

4. Preheat oven to 350 º F (175 ° C). Working with one portion of dough at a time (keeping remaining dough refrigerated), cut the dough with sharp cookie cutters, and place on baking trays. Repeat with remaining dough. Bake for 8-10 minutes. Cool completely on wire rack before decorating.

Yields: 25 +, 2 ½ inch cookies. Why the +, well some little hands managed to reach a few before I had a chance to count them.


Note: 
a) I have used regular sized chips and they worked well, although the mini-chips make it easier to roll out.
b) These cookies come out super delicious and you won't be able to stop eating or baking them. I will not take responsibility for that, lol.
c) If you would like an icing recipe you could find it, HERE.

Enjoy!

Receta en español: AQUÍ

Love must be sincere. Hate what is evil; cling to what is good.- Romans 12:9

Royal Icing


Royal icing is a white, hard icing that can be used to decorate candies, cookies, cakes, and glue gingerbread houses and pastillage products. Royal icing dries into a very stiff consistency making it not the ideal texture to have a cake frosted with. Reserved it to make the small decorative touches and flowers on cakes if needed. For cookies and candies decorations, it is another story,..... it is the best frosting for these treats!


Royal Icing I (Version II at the bottom)

This icing has the appearance like merengue, but it is thicker. Once it's ready you can add some drops of color. I use soft gel paste food colors. The steps to make this icing are few and easy, but I decided to include more information to cover some important points and hopefully answer any question you may have.

Ingredients to make the traditional royal icing :
3 egg whites, at room temperature
3 ½ - 4 cups (1 lb) softed powdered sugar/ confectioner's sugar (450 -520g)
½ teaspoon cream of tartar (optional)
1 teaspoon of lemon juice or vanilla
food coloring (optional)


Preparation:
1. Egg whites should be at room temperature.

2. In a stand mixer, using the whisk attachment, beat the egg whites and cream of tartar until foamy ( about 1 minute).  Add powdered sugar and lemon juice or extract, beat on low speed until combined. Stop the mixer and scrape down the sides of the bowl. Restart the mixer on medium- high speed until you get a very thick, shiny and strong peaked white icing. This should take about 7-10 minutes. I leave mine for 10 minutes. You can use a hand mixer if you desire, but it will take longer for the icing to reach the right consistency. If you are working in humid or rainy weather you'll need more sugar (see note b).

3. Check the texture to ensure that it is suitable for your needs. If you require a stiffer icing, add a little more powdered sugar at this point.

4. If you want to dye your icing just one color, you can add a few drops of food coloring into the bowl and mix it for a few seconds until the coloring is evenly distributed. If you want to make several different colors, divide the icing into several different bowls and stir in the food coloring by hand.


Notes:
a) All the utensils and mixing bowl must be completely free of grease.
b) After you measure four cups of sugar, you should sift before mixing it with the egg whites. On humid or rainy days yo may need 1-2 more cups of sugar for your icing to get it to dry in a reasonable time (see note e).
c) Maintain the icing covered with a damp cloth at all time to prevent it from crusting and drying.
d) Royal dries to a tough consistency and it will begin to dry as soon it is done. To avoid it harden before using it, you should cover with a damp cloth or closed container so that it is not dry. If you're using a pastry bag you should cover the tip with a wet towel when not in use, to prevent icing from drying in the tip.
e) Drying time varies depending on the temperature, humidity and the amount of glaze used. It must harden within 15-60 minutes after application, but as I said, moisture influences greatly in drying  time and it may require a full day to completely dry. In humid or rainy days you need to add more sugar to the icing to help it dry quicker. Products decorated with royal icing should not be refrigerated because condensation and cool temperature will cause the icing to get soft and sticky. Store decorations and decorated dry cookies in a dry area and in a covered container.


Clear eggs whites with cream of tartar, beat until this until soft peaks, add icing sugar and beat until a  strong and glossy peaks are formed.

For decorated cookies

Notes:

-To decorate Sugar Cookies, you can put any extract you wish to match cookie dough.

-Place in decorating pastry bag with a no.2 tip and outline the cookie. Let dry and then add a few drops of water to make icing more fluid and fill the cookies. Let dry several hours, time depends on the climate and temperature. Once dried, you can prepare more icing to give the finishing touches if needed.

 - The consistency that best works for me to outline and flood cookies is just adding enough water to just make the icing a little bit more thinner, it should look like white glue. To know if the consistency is right: using a spoon drop the icing by drops into a bowl of thinned icing and count 8-10 seconds before it disappears into the remaining icing in the bowl. An 8, 9 and 10 are all good, it depends on you and what works best for you.

Find the sugar cookie recipe to make decorated cookies, HERE.


Royal Icing II Made with meringue powder


Ingredients: 
3 tablespoons meringue powder
1 lb. (4 cups) powdered sugar (confectioner's sugar)
5 tablespoons lukewarm (mildly warm / tepid) water


Preparation: Beat all ingredients until the cream is strong peaks (7-10 minutes). 

Yields 3 cups.

Notes: 
All utensils and the mixing bowl must be completely free of any grease. The mixture should be kept covered with a damp cloth to prevent icing from drying. Same rules apply in notes for recipe I.


How long does royal icing last? How to store or keep royal icing? I recommend using it fresh each time that you can, because it has better taste and texture. But if you have left over or you need to finish the job of decorating the next day, follow these recommendations: the recipe of royal icing I made with egg whites could be kept in the refrigerator in an airtight container for two days and no more. Royal Icing made with meringue powder can be store for a week and perhaps two at room temperature in an airtight container.

Recipes and Tips